Welcome to our complete guide: How to install ICF blocks. ICF blocks are a revolutionary technology in modern construction, providing excellent thermal insulation properties, structural strength and durability.
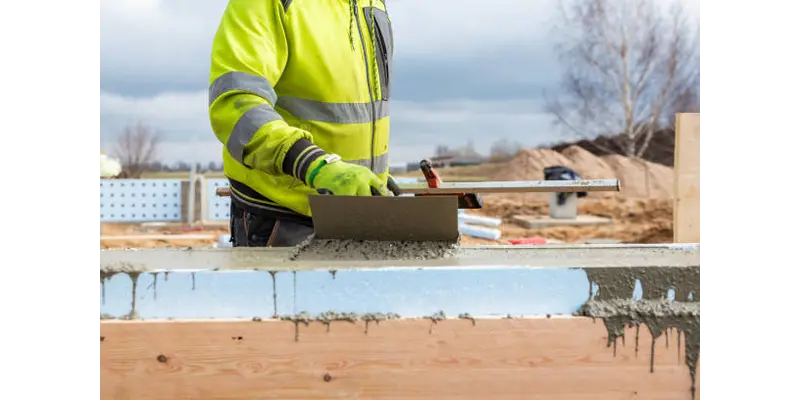
Whether you are undertaking a new construction or renovation project, this guide will provide you with comprehensive ICF installation steps to help you successfully complete your ICF project. Let’s explore together how to use ICF blocks to create more energy-efficient, environmentally friendly and sturdy buildings!
What is ICF Blocks?
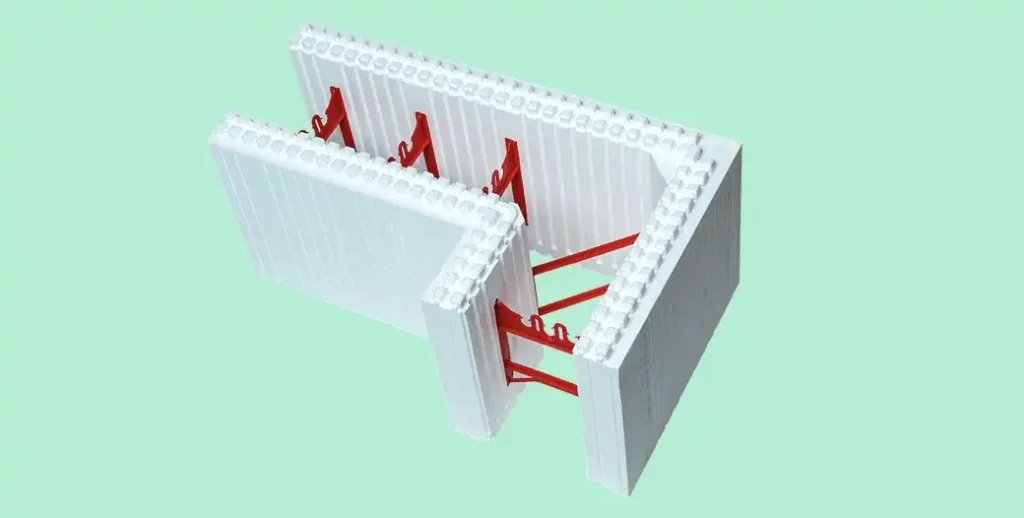
ICF (Insulated Concrete Form) block is a structural material used in buildings designed to provide excellent thermal insulation properties and structural support. ICF blocks typically consist of two thin polymer panels filled with concrete, creating an insulating concrete wall.
The outer surface of an ICF block is typically a structural polymer foam, and the interior is filled with concrete. This design allows ICF blocks to combine the structural strength and durability of concrete walls with the excellent insulation properties of polymer foam.
The Main Advantages of ICF Blocks
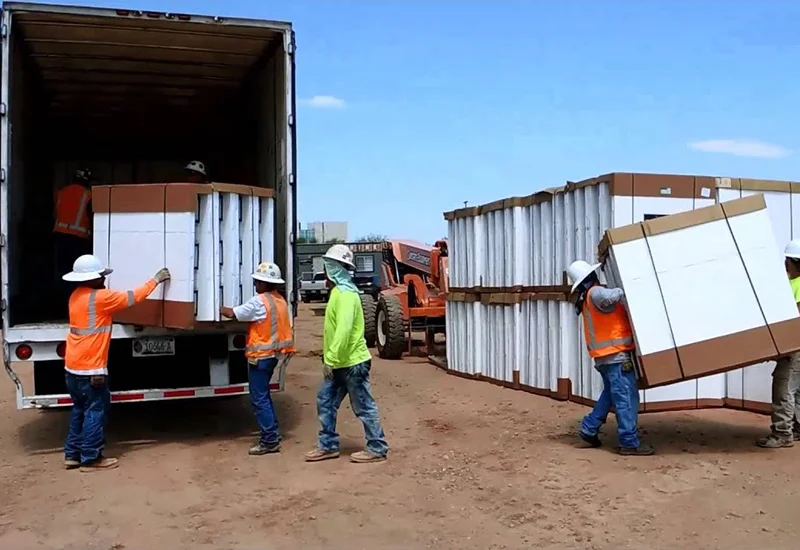
There are many main advantages of ICF blocks, below I will introduce some common advantages:
Insulation Performance
Polymer foam provides excellent thermal insulation properties, keeping buildings warm in winter and cool in summer.
Energy Saving
Due to their excellent insulation properties, ICF buildings typically require less energy to heat or cool, thus reducing energy consumption and energy bills.
Structural Strength
The concrete interior provides structural support, making the ICF wall highly resistant to wind, earthquake and fire resistance.
Sound insulation performance
ICF walls are composed of concrete and polymer foam, which have good sound insulation properties and can reduce the spread of indoor and outdoor noise.
Easy to install
The design of the ICF block makes it easy to install, which can reduce building construction time and labor costs.
Due to its multiple advantages, ICF blocks are becoming increasingly popular as a popular building material in residential, commercial and industrial construction.
How Many ICF Blocks Do I Need?
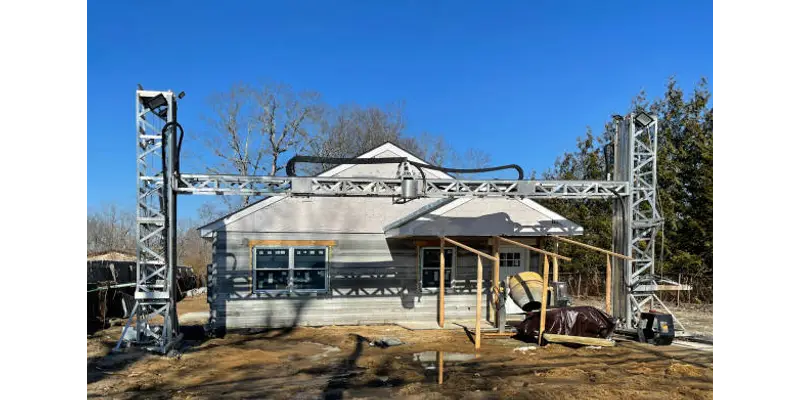
Here are some other steps to estimate the number of ICFs needed:
Multiply the height of the wall (in feet) by the length of the wall (in feet)
Subtract the area, in sq. ft, of all window and door openings
Divide the number of square feet by 5.33sq. ft. to determine the number of Standard ICFs needed
If you don’t know how to calculate, you can also contact us and we can help you.
How to Install ICF Blocks?

Step 1
Plan the outline of the blocks and the location of door and window openings on a conventional footing or a slab that is level, straight and square. Rebar should extend upward at least 24″(610mm) from the footing into the cavity of the block or as per structural requirement.
Step 2
Place the first corner blocks at each corner, then lay the straight blocks toward the center of each wall segment. On the first course, use zip ties on the webs to connect the blocks and pull them snugly together.Following this, install horizontai rebar by placing it in the clips at the top of the internal webs within the block cavity. The clips hold the rebar securely and eliminate the need for wire tying.(Repeat this process for each course of block).
Step 3
Install the second course of blocks by reversing the corer blacks, so that the second course of block is offset from the first, in a running band pattern. At this point check for level across all of the blocks. If the courses are not level, use shims or trim the block as required.
Step 4
Install window and door frames (bucks) at each location where an opening is required;cut and fit the ICF blocks around them. Bucks are used to hold back the concrete and stay in place permanently providing a nailing surface for the installation of windows and doors.Pressure-treated lumber or vinyl bucks may be used.
Step 5
Install additional courses of black by continuing to overlap the courses so that all joints are lacked both abave and below by overlapping blocks.
Step 6
Install alignment bracing along the entire interior(recommended) of the wall perimeter. This ensures that the walls are straight and plumb and allow alignment adjustment before and during the
pour.
Step 7
Stack the block to the full wall height for single story construction, or to just above floor height for multi story construction.Cut the vertical rebar to length and begin installing it from the opening at the top of the wall, through the spaces between the horizontal rebar.
Step 8
Pour the concrete into the stacked walls using a boom pump. Do this in layers approximately 3-4′(0.9-1.2m) at a time, circling the structure until the top of the wall is reached. Use a mechanical pencil vibrator (stinger) to vibrate the concrete and remove all air pockets within the wall.
Step 9
Screed off the concrete until it is even with the block top and then wet set the anchor bolts into the concrete top. These bolts will be used iater to install the top plate (mud sill) for the installation of floor joists, rafters or trusses.
Step 10
Remove bracing after the concrete has cured, then proceed with the next stages of construction.
Summary
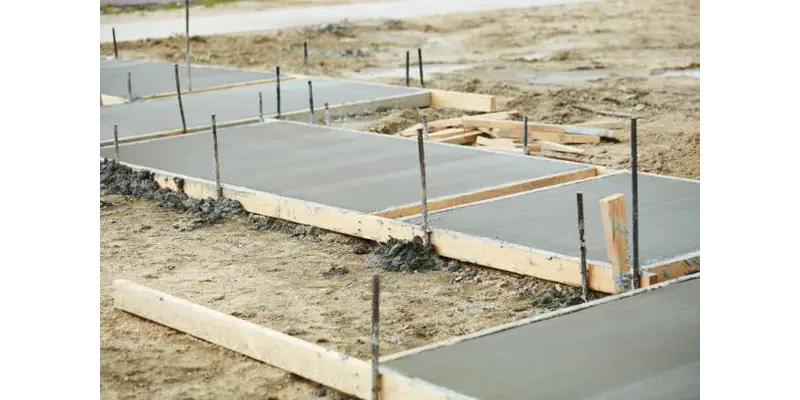
“How to Install ICF Blocks: The Complete Guide ICF Installing Project” suggests an in-depth guide aimed at assisting individuals in effectively installing ICF (Insulated Concrete Form) blocks.
This comprehensive guide likely provides step-by-step instructions covering every aspect of the installation process, ensuring a thorough understanding from start to finish. It may include detailed explanations, accompanied by visuals or diagrams, to facilitate easier comprehension and implementation.
If you have any questions, please contact us for more information.
