Welcome to our blog, where we delve into the fascinating world of styrofoam balls! Often underestimated, these simple spheres have a surprisingly wide range of applications, from crafting and decoration to packaging and education. We’ll explore their composition, uses, and even offer tips on working with them.
In this blog, we aim to demystify styrofoam balls, addressing common questions and showcasing their versatility. Whether you’re a seasoned crafter, a student, or simply curious, you’ll find valuable insights into this adaptable material. Join us as we uncover the secrets of these lightweight wonders!
What Are Styrofoam Balls?

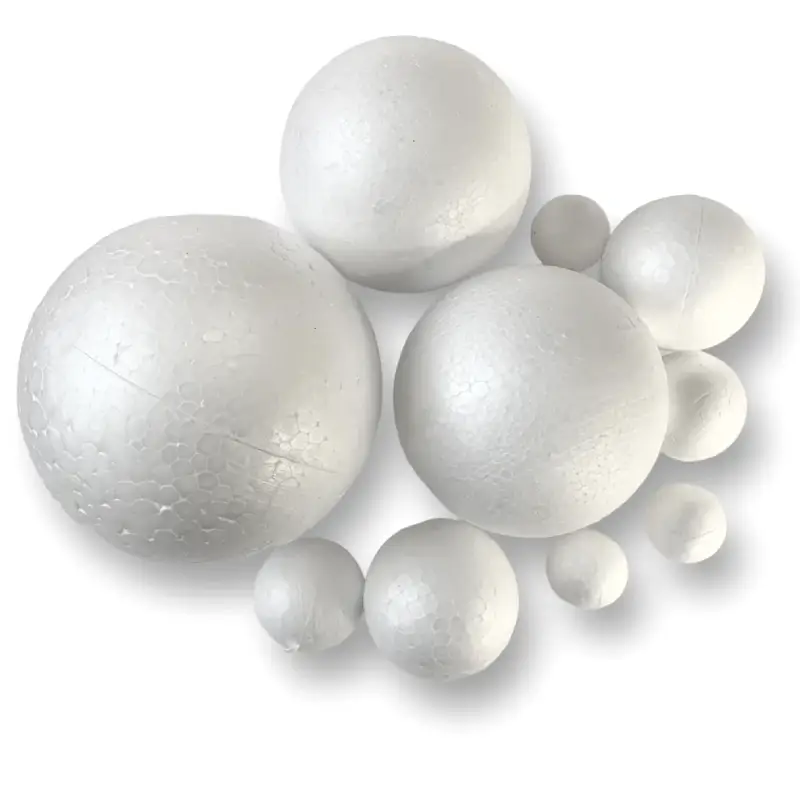

Styrofoam balls, more accurately known as expanded polystyrene (EPS) balls, are lightweight spheres made from a plastic foam material. They are produced by expanding polystyrene, a petroleum-based plastic, with air, resulting in a porous and very light structure.
While “Styrofoam” is a brand name for extruded polystyrene, it’s often used generically to refer to these EPS balls.
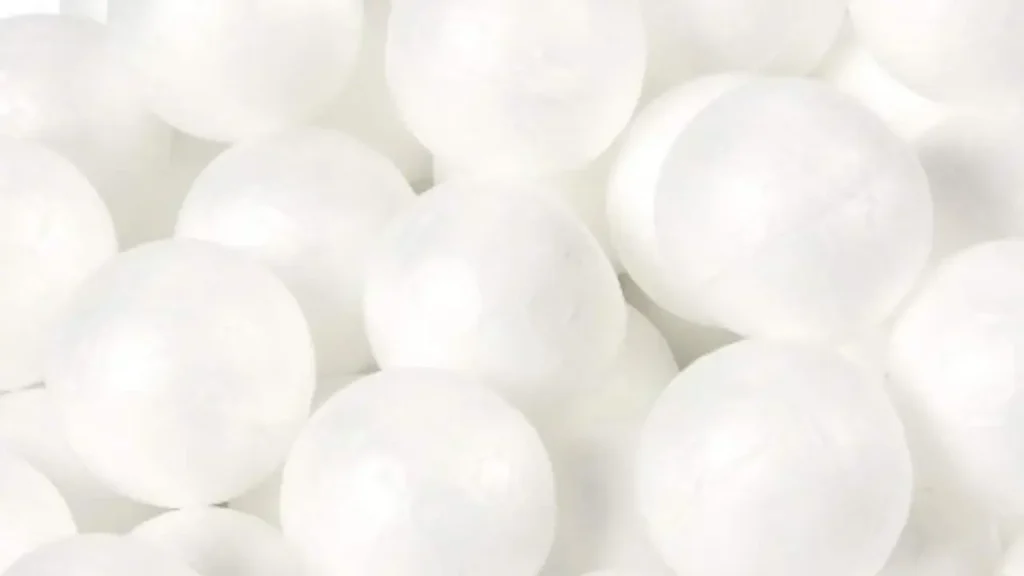
These balls are remarkably versatile, finding applications in numerous areas. Their defining characteristics, such as their low density, ease of shaping, and insulating properties, contribute to their widespread use. They are commonly used in crafting, decorations, model making, and even packaging. However, it’s essential to be mindful of their environmental impact, as polystyrene is not biodegradable.
What Are Styrofoam Balls Made Of?
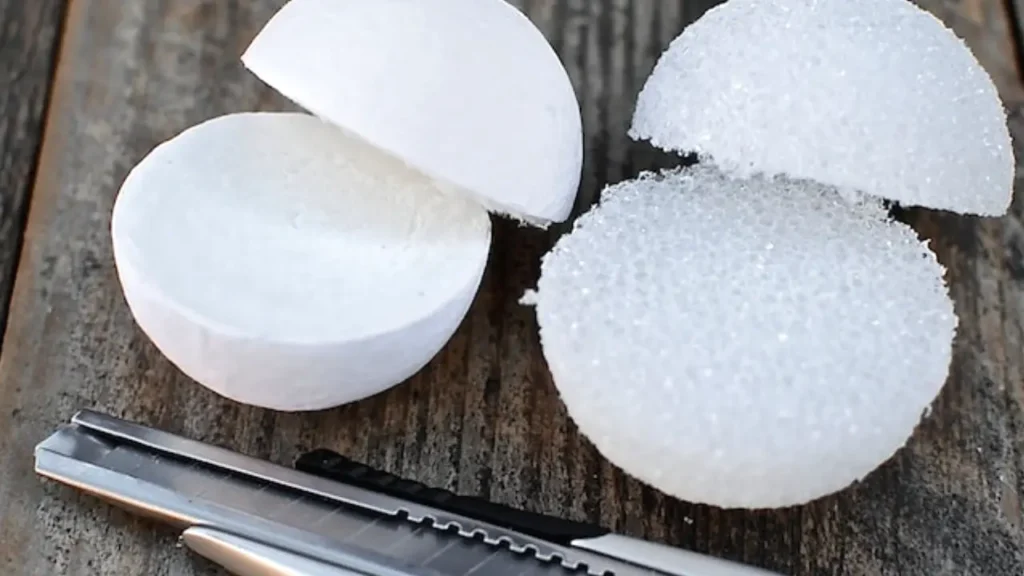
Styrofoam balls, more accurately referred to as Expanded Polystyrene (EPS) balls, are primarily made from the plastic polymer polystyrene. This petroleum-based plastic is transformed through a heating process using a blowing agent, creating a rigid foam structure that is nearly 98% air.
This high air content is what makes them incredibly lightweight.
- Polystyrene Plastic: The fundamental material is polystyrene resin, a synthetic thermoplastic polymer that starts as tiny, solid plastic beads. These raw material beads are derived from styrene monomer, which itself is a liquid hydrocarbon sourced from petroleum or natural gas, forming the core substance of the final foam.
- Blowing Agent (Pentane): To achieve the foam structure, the solid beads are impregnated with a blowing agent, typically pentane gas, which is a low-boiling-point hydrocarbon. When exposed to steam heat, the pentane rapidly volatilizes and expands the beads up to 50 times their original volume, forming air-filled cells.
- Manufacturing Process: The process involves pre-expanding the beads with steam, allowing the pentane to create the cellular structure, and then molding the expanded beads into the desired spherical shape. The heat fuses the individual expanded balls together, resulting in the lightweight, rigid foam ball.
What Can I Make With Styrofoam Balls
What to do with styrofoam balls?
Styrofoam balls are incredibly versatile crafting materials, lending themselves to a wide range of creative projects. Their lightweight nature and ease of manipulation make them perfect for both simple and complex designs. You can transform them into charming decorations, realistic models, and even functional items.
For example, they can be used to create festive holiday ornaments, miniature snowmen, or even detailed dioramas. The possibilities are truly endless, limited only by your imagination.
Here are just a few ideas to get you started:
- Holiday Ornaments: Paint, glitter, or cover them in fabric to create unique Christmas tree decorations.
- Planetary Models: Use them to construct accurate representations of the solar system for educational purposes.
- Floral Arrangements: Incorporate them as a base for artificial flowers, providing stability and volume.
- Cake Pops and Candy Making: Use them to create a base for cake pops or candy designs.
Beyond these examples, styrofoam balls can be used in various other applications. They can be incorporated into art installations, used as fillers for decorative bowls, or even serve as the base for costume props. Their adaptability makes them a valuable resource for artists, crafters, and hobbyists alike.
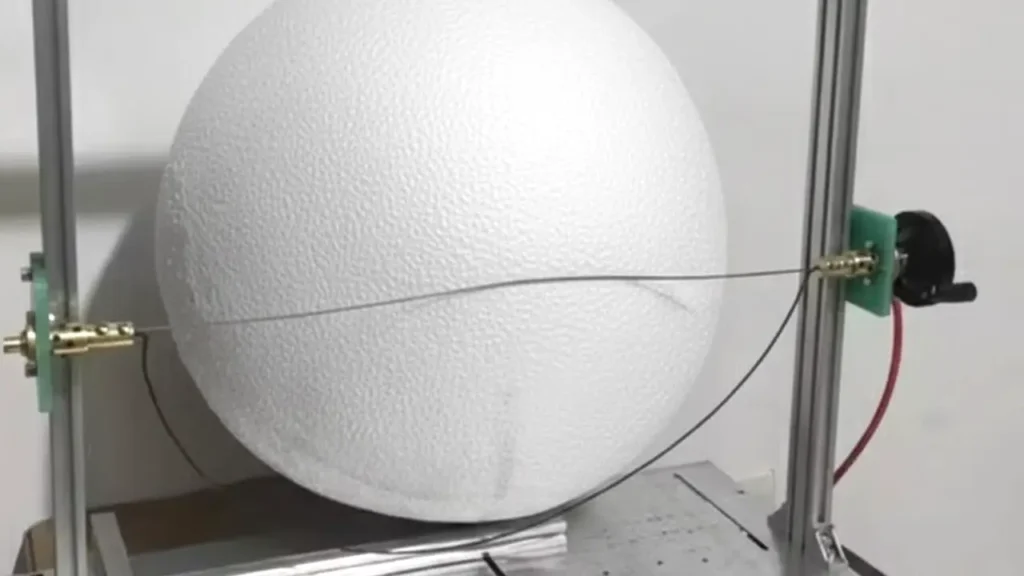
How to Cut a Styrofoam Ball?
Cutting styrofoam balls can seem daunting, but with the right tools and techniques, it’s a straightforward process. Whether you’re crafting, building models, or creating decorations, precise cuts are essential for achieving professional-looking results.
This guide will walk you through each step, ensuring a clean and safe cutting experience.
Step 1: Gather Your Materials and Prepare Your Workspace
Before you begin, ensure you have all the necessary tools and a suitable workspace. You’ll need a sharp serrated knife (a bread knife works well) or a hot wire foam cutter, a sturdy cutting surface (cardboard, a cutting mat, or even a piece of scrap wood), a marker or pen, and safety glasses. If using a hot wire cutter, ensure you have proper ventilation, as it can release fumes. Gather any measuring tools, like a ruler or tape measure, if you need precise cuts.
Preparing your workspace is crucial for a clean and safe cutting process. Clear any clutter from your working area to avoid accidents. Place your cutting surface on a stable, flat surface. If using a knife, ensure the surface is one you don’t mind potentially scratching or damaging.
If you’re using a hot wire cutter, make sure it’s plugged into a safe power outlet and positioned so that the wire is easily accessible. Proper preparation will streamline the cutting process and minimize the risk of errors or injuries.
Step 2: Mark Your Cutting Line
Accurate marking is essential for achieving a clean and precise cut. Begin by determining where you want to cut the styrofoam ball. If you intend to cut it in half, locate the equator and mark a line around it. For other shapes, carefully draw the desired lines using your marker or pen. If you need a perfectly straight line around the equator, wrap a piece of paper around the ball, aligning the edges, and trace along the paper’s edge.
For intricate cuts or specific shapes, it may be helpful to create a template. You can use cardboard or thick paper to create a template that matches your desired shape. Place the template against the styrofoam ball and trace along its edges.
For complex custom styrofoam shapes, consider breaking down the cutting process into smaller, more manageable sections. Ensure your markings are clear and visible, as this will guide your cutting and help you maintain accuracy throughout the process. Double-check your measurements and markings before proceeding to the next step.
Step 3: Cut with a Serrated Knife
If using a serrated knife, hold the styrofoam ball firmly with one hand, ensuring your fingers are safely away from the cutting line. With your other hand, hold the knife at a slight angle and begin cutting along the marked line using a gentle sawing motion. Avoid pressing down too hard, as this can crush the styrofoam and create an uneven cut. Focus on maintaining a consistent sawing motion and follow the marked line carefully. Rotate the ball as needed to follow the line and maintain a smooth cutting motion.
It is best to take your time and make slow, deliberate cuts. Rushing can lead to uneven edges and damage to the styrofoam. If you encounter resistance, adjust your cutting angle and continue sawing gently. Avoid forcing the knife through the styrofoam, as this can cause it to break or splinter. If you are cutting a large ball, you may need to make multiple passes to cut all the way through. Remember to keep your fingers away from the cutting edge at all times to prevent injuries.
Step 4: Cut with a Hot Wire Foam Cutter
If using a hot wire foam cutter, plug it in and allow it to heat up. The hot wire will melt through the styrofoam, creating a clean cut. Hold the styrofoam ball firmly and carefully guide the hot wire along the marked line. Maintain a steady and consistent speed to avoid unevenness. Be mindful of the fumes produced and ensure adequate ventilation. Avoid holding the wire in one spot for too long, as it can create an uneven or burned cut.
The hot wire cutter makes clean cuts, but it’s important to practice on scrap styrofoam first. The speed you move the wire through the material will affect the quality of the cut. Move too slowly, and the cut will be wider and potentially create melted edges. Move too quickly, and the wire might not cut all the way through. Always wear safety glasses when using a hot wire cutter to protect your eyes from any potential splattering. Ensure the workspace is well-ventilated to avoid inhaling fumes.
Step 5: Smooth and Clean Up
After cutting, inspect the edges of the styrofoam ball. If there are any rough spots or unevenness, gently smooth them using fine-grit sandpaper or the edge of the knife. Remove any loose styrofoam pieces from your workspace to prevent them from sticking to other surfaces or creating a mess. If you used a hot wire cutter, allow the cut edges to cool completely before handling them further.
Cleaning up your workspace is an important final step. Dispose of styrofoam scraps responsibly, following local guidelines for recycling or disposal. For a very smooth finish, you can use a fine grit sandpaper and lightly sand the edges. If you are going to paint or decorate the ball, make sure all dust and small pieces of styrofoam are removed. Using a tack cloth or a slightly damp cloth can help remove the fine dust particles.
How to Color Styrofoam Balls
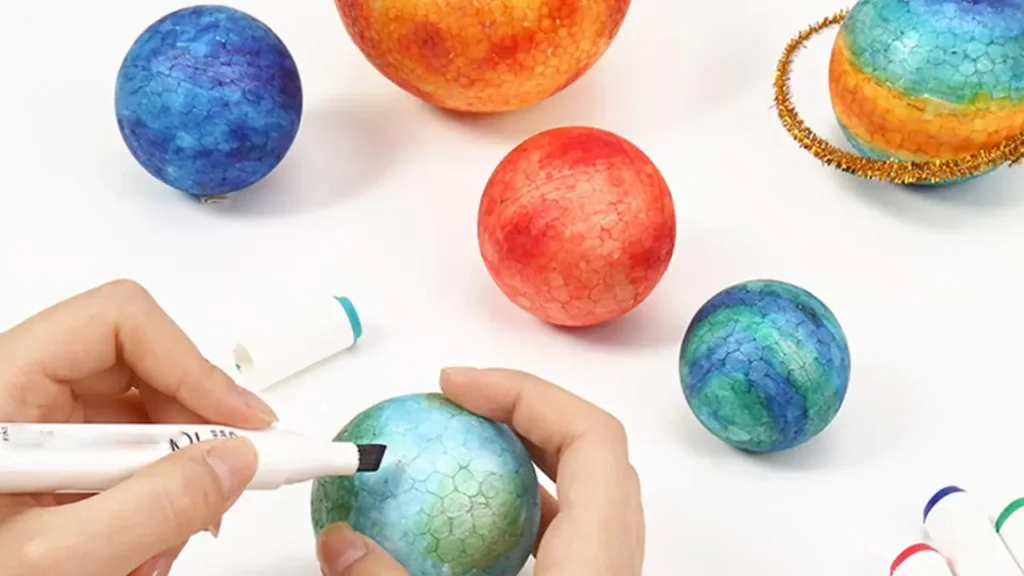
Coloring styrofoam balls is a fun and versatile way to add a personal touch to crafts and decorations. With a few simple steps, you can transform plain styrofoam into vibrant, eye-catching pieces. Whether you’re aiming for a smooth, solid finish or intricate designs, this guide will help you achieve beautiful results.
Step 1: Prepare Your Workspace and Materials
Gather your styrofoam ball, paints, brushes, a palette, and a drop cloth. Use a skewer to hold the ball. Ensure good ventilation, especially with spray paint. A clean, organized workspace prevents messes and ensures smooth coloring.
Step 2: Prime the Styrofoam (Optional but Recommended)
Apply a thin, even coat of styrofoam-safe primer. Let it dry completely. Priming seals the porous surface, improving paint adhesion and vibrancy. It prevents water-based paints from soaking in, ensuring even coverage.
Step 3: Apply the Base Color
Apply thin, even layers of your chosen color. Allow each layer to dry before adding more. Use light, even coats with spray paint. For markers, use smooth, consistent strokes. Avoid thick layers to prevent clumping.
Step 4: Add Details and Patterns (Optional)
Use smaller brushes or markers for details. Stencils can create repeating patterns. Add highlights, shadows, or texture with different colors. Let each layer dry to prevent smudging. Customize with unique designs.
Step 5: Seal and Protect the Color (Optional)
Apply a thin, even coat of styrofoam-safe sealant. Let it dry completely. Sealing protects the color from fading, chipping, or scratching. It adds a glossy or matte finish, enhancing durability.
Why Choose Our Styrofoam Balls?
Choosing the right styrofoam balls ensures quality, consistency, and performance for crafts, decorations, packaging, or industrial applications. Our styrofoam balls are lightweight, durable, and precisely manufactured to meet various size and density requirements. They provide reliable shape retention, smooth surfaces, and easy handling, making them ideal for creative projects and professional uses.
- Eco-Friendly Options: Our styrofoam balls can be recycled or reused in various projects, helping reduce material waste. Choosing our products supports sustainable practices while still providing high-quality performance for crafts, packaging, and industrial applications.
- Consistent Size and Shape: Our styrofoam balls are manufactured with strict quality control to ensure uniform size and roundness. This consistency allows for precise crafting, accurate decoration arrangements, and reliable performance in packaging or industrial applications.
- Lightweight and Durable: Despite their low weight, our styrofoam balls maintain structural integrity and resist breakage. This durability makes them ideal for repeated handling, long-term displays, and protective cushioning without compromising their shape or functionality.
- Smooth Surface Finish: Each styrofoam ball has a smooth, even surface, making it easy to paint, decorate, or coat. The fine texture ensures professional-looking results for crafts, floral arrangements, and decorative projects without the need for extensive surface preparation.
- Variety of Sizes and Densities: We offer styrofoam balls in multiple diameters and densities to suit different applications. Whether for lightweight decorative projects or more robust industrial uses, customers can select balls that meet their specific requirements.
Conclusion
In conclusion, styrofoam balls, or EPS balls, are remarkably versatile, serving diverse purposes from crafting and decoration to packaging and education. Their lightweight nature, moldability, and insulating properties make them a valuable resource across various industries. While their environmental impact requires consideration, their utility remains undeniable.
From creating delicate ornaments to providing protective packaging, these spheres offer endless possibilities. Understanding their properties and uses empowers you to utilize them effectively in your projects. Whether you’re a crafter, educator, or business owner, styrofoam balls are a readily available and adaptable material.
Ready to take your projects to the next level? Contact us today for wholesale styrofoam ball inquiries and unlock bulk savings!