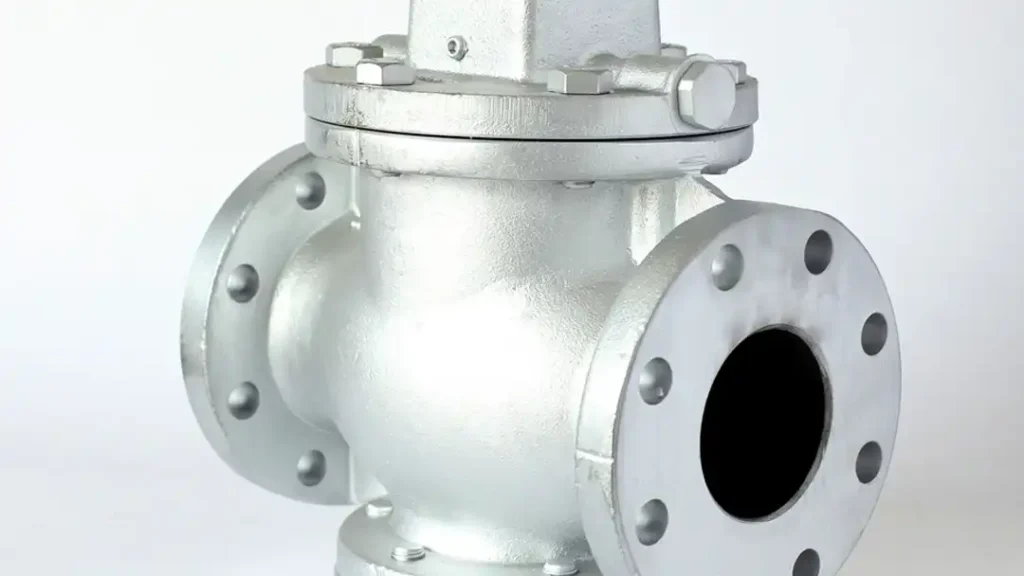
essure relief valves (PRVs) are essential safety devices designed to protect pressurized systems from excessive pressure. When pressure in a system exceeds a predetermined level, the PRV opens to release the excess pressure, ensuring the system’s safety and integrity.
What Is Pressure Relief Valve
Importance of Proper Pressure Relief Valve Adjustment
Proper adjustment of pressure relief valves is crucial for maintaining the safety and efficiency of pressurized systems.
Here’s why it matters:
System Safety: Pressure relief valves serve as the last line of defense against overpressure situations that could lead to catastrophic failure. Incorrectly adjusted valves may not activate at the intended pressure, leaving the system vulnerable to damage or rupture.
Equipment Protection: Pressurized systems often contain expensive and sensitive equipment. Properly adjusted relief valves help protect this equipment by preventing pressure buildup that could damage or degrade its performance.
Energy Efficiency: When relief valves open unnecessarily due to incorrect settings, energy is wasted in releasing excess pressure. By ensuring the valves only open when needed, proper adjustment helps conserve energy and reduce operating costs.
Process Stability: Consistent pressure control is vital for maintaining process stability and product quality in industrial applications. Properly adjusted relief valves contribute to stable operating conditions by preventing pressure fluctuations.
Compliance with Regulations: Many industries have strict regulations governing pressure equipment and safety standards. Properly adjusted relief valves ensure compliance with these regulations, avoiding potential legal issues and penalties.
Risk Mitigation: In environments where hazardous materials are present, the consequences of a pressure-related accident can be severe. Properly adjusted relief valves minimize the risk of such accidents, protecting personnel and the surrounding environment
Types of Pressure Relief Valves
Spring-Loaded Pressure Relief Valves
Spring-loaded PRVs use a spring mechanism to control the valve opening. They are common in many applications due to their simplicity and reliability.
Pilot-Operated Pressure Relief Valves
Pilot-operated PRVs are more complex and use a pilot valve to control the main relief valve. They are typically used in high-pressure and large-capacity systems.
Balanced Pressure Relief Valves
Balanced PRVs are designed to handle back pressure and are often used in systems where pressure fluctuations are common.
Components of a Pressure Relief Valve
Valve Body
The valve body is the main structure of the PRV, housing all internal components.
Spring
The spring provides the force that keeps the valve closed until the set pressure is reached.
Adjusting Screw
The adjusting screw allows for the fine-tuning of the valve’s set pressure.
Seat and Disc
The seat and disc are the sealing surfaces that open to release pressure when the valve activates.
How Pressure Relief Valves Work
PRVs operate by opening a passage for fluid to escape when system pressure exceeds a set limit, thus preventing pressure from reaching unsafe levels.
The pressure setting mechanism, typically an adjusting screw, controls the compression of the spring, which in turn sets the pressure at which the valve will open.
Safety Precautions Before Adjustment
System Isolation
Ensure the system is isolated and depressurized before attempting any adjustments.
Personal Protective Equipment (PPE)
Wear appropriate PPE, such as gloves and safety glasses, to protect against accidental release of pressure or contact with hazardous fluids.
Tools and Equipment
Use proper tools and equipment specifically designed for adjusting PRVs to avoid damaging the valve.
How to Adjust a Pressure Relief Valve
Step 1: Identify the Valve Type
Determining the type of pressure relief valve is the first crucial step before adjustment. PRVs can be spring-loaded, pilot-operated, or balanced. Each type may have specific procedures and considerations for adjustment. Consult the valve’s documentation or markings to identify the type and ensure you follow the appropriate procedure.
Step 2: Refer to Manufacturer’s Specifications
Every PRV has manufacturer specifications detailing the correct adjustment procedures and recommended pressure settings. These documents are vital as they provide the necessary information to avoid incorrect adjustments. Review the manufacturer’s manual thoroughly to understand the correct steps, tools required, and safety measures.
Step 3: Access the Adjusting Screw
The adjusting screw is the component that controls the set pressure of the valve. Typically located on the top of the valve, it may be covered by a protective cap or housing. Carefully remove any covering to expose the adjusting screw. Ensure that the area is clean to prevent debris from entering the valve mechanism.
Step 4: Adjust the Pressure Setting
To adjust the pressure relief valve setting:
- Turn the Adjusting Screw: Using a suitable tool, turn the adjusting screw.
- Clockwise: Tightening the screw increases the set pressure.
- Counterclockwise: Loosening the screw decreases the set pressure.
- Make Small Adjustments: Adjust in small increments to avoid overshooting the desired pressure setting. After each adjustment, reassemble any components and proceed to the next step to test the valve.
Step 5: Test the Valve
Testing is crucial to ensure the valve opens at the desired pressure. Follow these steps:
- Reassemble and Secure: Ensure all parts are reassembled and secure any covers.
- Apply Pressure: Gradually apply pressure to the system or use a test rig.
- Monitor the Valve: Observe the valve operation closely to ensure it opens at the newly set pressure. If it does not, further adjustment may be needed.
Step 6: Re-Check and Fine-Tune
After initial testing, fine-tune the valve settings if necessary. Repeat the adjustment and testing process until the valve operates at the correct set pressure. Ensure each adjustment is small and measured to maintain control over the settings.
Common Issues and Troubleshooting
Despite their importance in maintaining system safety, pressure relief valves (PRVs) can experience issues that affect their performance. Here are some common problems encountered with PRVs and troubleshooting steps to address them:
Valve Does Not Open at Set Pressure
Issue: One of the critical functions of a PRV is to open and relieve pressure when it reaches a predetermined set point. If the valve fails to open at the set pressure, it can lead to overpressure situations and potential system failure.
Troubleshooting:
- Inspect Valve Components: Check for any obstructions or damage to the valve components, such as the seat and disc. Clean or replace any damaged parts as necessary.
- Check Spring Tension: Ensure that the spring tension is correctly set. If the spring is worn out or weakened, it may not exert enough force to open the valve at the set pressure.
- Verify System Pressure: Confirm that the system pressure is indeed reaching the set point. Use a pressure gauge to monitor the pressure and compare it to the valve’s set pressure.
Valve Leaks
Issue: A leaking PRV can result in the continuous release of fluid or gas, leading to energy loss and potential safety hazards.
Troubleshooting:
- Inspect Seals and Gaskets: Check the seals and gaskets for signs of wear or damage. Replace any worn-out components to ensure a proper seal.
- Check Seat and Disc: Inspect the seating surfaces of the valve for any irregularities or damage. Clean or replace the seat and disc if necessary to prevent leaks.
- Adjust Spring Tension: If the valve is leaking due to insufficient pressure to keep it closed, adjust the spring tension to increase the closing force.
Inconsistent Pressure Settings
Issue: PRVs should maintain consistent pressure settings to ensure reliable operation. Inconsistent pressure settings can result in either premature opening or failure to relieve pressure when needed.
Troubleshooting:
- Secure Adjusting Screw: Ensure that the adjusting screw is securely tightened to prevent unintentional changes to the pressure setting.
- Check for Vibrations: Vibrations or mechanical shocks can cause the adjusting screw to shift over time. Secure the screw and use locking mechanisms if available to prevent movement.
- Calibrate Pressure Gauge: If using a pressure gauge to set the valve, calibrate the gauge regularly to ensure accurate pressure readings.
Maintenance Tips for Pressure Relief Valves
Proper maintenance is crucial for ensuring the reliable operation of pressure relief valves (PRVs) and the safety of pressurized systems. Here are some maintenance tips to help keep PRVs in optimal condition:
Regular Inspection
1. Schedule Routine Inspections: Establish a regular inspection schedule to check the condition of PRVs. Frequency may vary depending on factors such as system criticality and operating conditions.
2. Visual Inspection: Visually inspect PRVs for signs of wear, corrosion, or damage. Look for leaks, rust, or deformation in valve components that may indicate potential issues.
Cleaning
3. Remove Debris: Clean PRV components regularly to remove any dirt, debris, or buildup that could interfere with valve operation. Use a soft brush or cloth to gently clean the valve body, seat, and disc.
4. Flush Systems: Periodically flush pressurized systems to remove sediment or contaminants that may accumulate and affect PRV performance. Follow manufacturer recommendations for flushing procedures and frequency.
Testing and Calibration
5. Test Valve Operation: Conduct regular tests to ensure PRVs operate as intended. Use a pressure test rig or simulate system conditions to verify that the valve opens at the correct pressure and closes properly afterward.
6. Calibration Checks: Check the calibration of pressure gauges and instruments used to set PRV pressures. Calibrate gauges periodically to ensure accurate pressure readings for setting and testing PRVs.
Replacement of Worn Parts
7. Replace Seals and Gaskets: Inspect seals and gaskets for signs of wear, aging, or deterioration. Replace worn-out seals and gaskets promptly to maintain a proper seal and prevent leaks.
8. Replace Springs: Monitor the condition of springs in spring-loaded PRVs. If springs show signs of fatigue or weakening, replace them according to manufacturer recommendations to maintain consistent valve operation.
Documentation and Record-Keeping
9. Maintain Records: Keep detailed records of maintenance activities, including inspection dates, test results, and any repairs or replacements performed on PRVs. This documentation helps track PRV performance and ensures compliance with maintenance schedules.
10. Follow Manufacturer Recommendations: Adhere to manufacturer guidelines for PRV maintenance, including recommended inspection intervals, lubrication procedures, and replacement schedules for components such as springs and seals.
FAQs
How often should pressure relief valves be adjusted?
Regular adjustments should be made based on the manufacturer’s recommendations or if there are significant changes in the system’s operating conditions.
Can I adjust a pressure relief valve while the system is running?
No, the system should be isolated and depressurized before making any adjustments to ensure safety.
What tools are needed for adjusting a pressure relief valve?
Common tools include wrenches, screwdrivers, and pressure gauges. Always refer to the manufacturer’s recommendations for specific tools.
What happens if a pressure relief valve is set too high?
If set too high, the valve may not open when needed, risking system overpressure and potential failure.
How can I test a pressure relief valve after adjustment?
A pressure test rig can be used to apply pressure gradually until the valve opens, ensuring it is set correctly.